How to Make an Animated GIF in Photoshop [Tutorial]
By lkolowich@hubspot.com (Lindsay Kolowich Cox)

Animated GIFs are great additions to your marketing. They’re easy to consume, provide a new way to capture your viewers’ attention, and can have a serious emotional impact.
The best part about GIFs is that they aren’t too hard to make. If you have access to Photoshop and a few minutes to spare, you can create an animated GIF in no time.
In the following tutorial on making animated GIFs, I’m using the Creative Cloud 2015 version of Photoshop, but the steps should be similar in other versions.
How to make a GIF
- Upload your images to Photoshop.
- Open up the Timeline window.
- In the Timeline window, click “Create Frame Animation.”
- Create a new layer for each new frame.
- Open the same menu icon on the right, and choose “Make Frames From Layers.”
- Under each frame, select how long it should appear for before switching to the next frame.
- At the bottom of the toolbar, select how many times you’d like it to loop.
- Preview your GIF by pressing the play icon.
- Save and Export Your GIF.
How to Create an Animated GIF in Photoshop
If you already know how to create a GIF, skip to the section on how to use GIFs in your marketing materials.
Here’s an example of an animated GIF you might make using this tutorial:
Alright, let’s get started.
Step 1: Upload your images to Photoshop.
If you already have images created …
Gather the images you want in a separate folder. To upload them into Photoshop, click File > Scripts > Load Files Into Stack.

Then, select Browse, and choose which files you’d like to use in your GIF. Then, click OK.
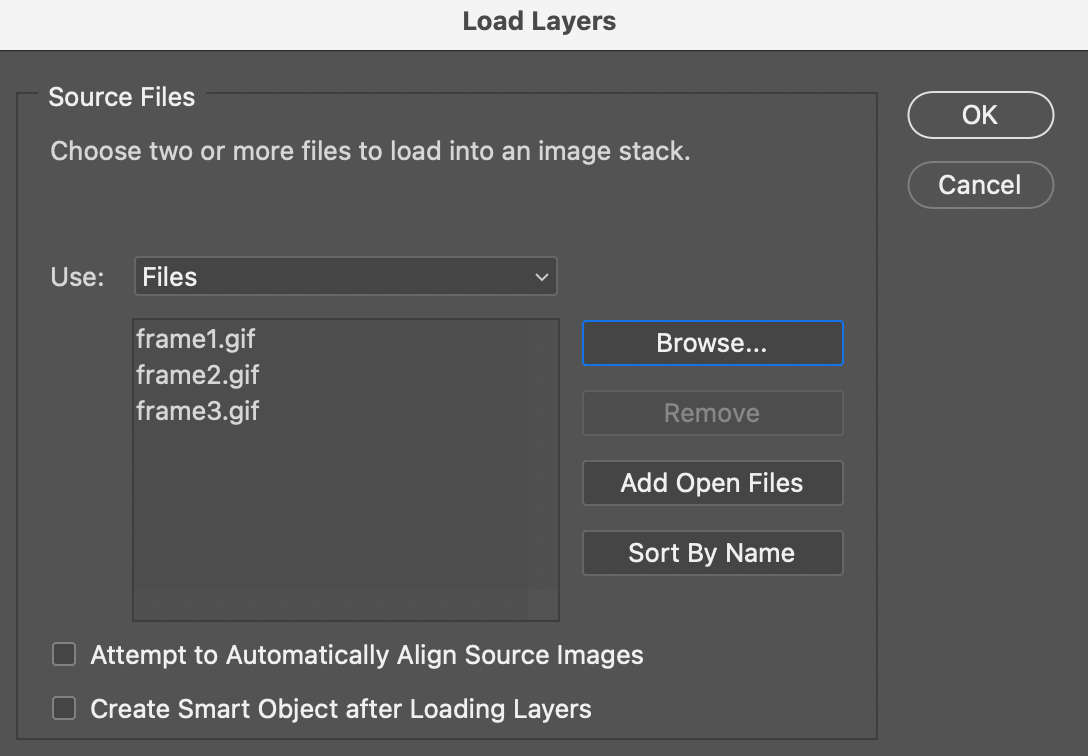 Photoshop will then create a separate layer for each image you’ve selected. Once you’ve done that, skip to step two.
If you don’t already have the series of images created …
Create each frame of the animated GIF as a different Photoshop layer. To add a new layer, chose Layer > New > Layer.

Be sure to name your layers so you can keep track of them easily when you make your GIF. To name a layer, go to the Layer panel on the bottom right of your screen, double-click on the default layer name, and type in the name you want to change it to. Press Enter when you’re finished.

Once you have your layers in there and you’ve named them all, you’re ready for step two.
Pro Tip: If you want …read more
Source:: HubSpot Blog