How to Create a Group in Gmail

By cchi@hubspot.com (Clifford Chi)

Growing up, there was only one thing my mom knew how to do on the internet that I could never figure out — creating an email group.
What’s even more surprising is that I sent email blasts to my friends all the time, but I never asked my mom how to make an email group. I would just manually enter my friends’ email addresses into the recipients’ box. Gosh, I was such a rebel.
If you’ve gotten over your teen angst and don’t want to manually enter your family’s, friends, or coworkers’ email addresses every time you want to send an email to them, we’ve got you covered.
Check out our quick guide on creating a group in Gmail. Keep reading, or jump to the section you’re looking for:
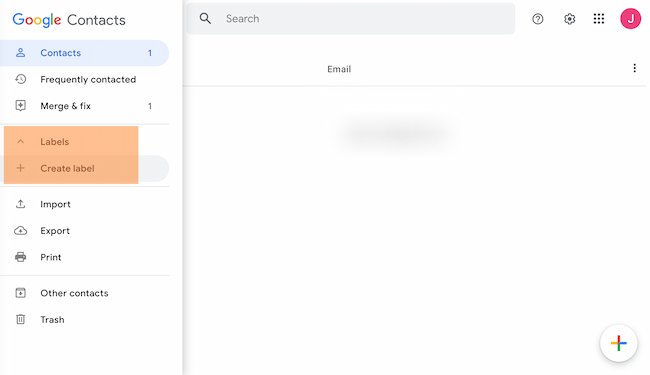
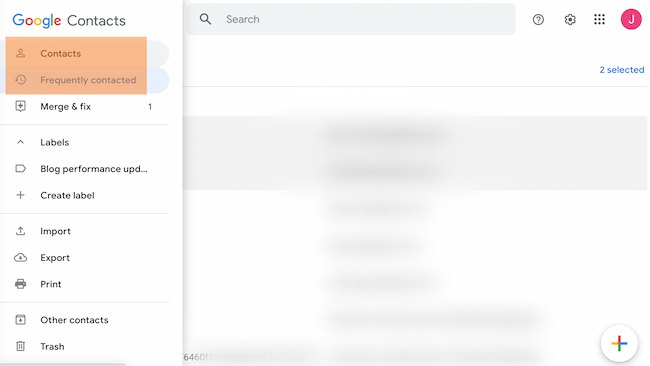
1. Visit Google Contacts.
You can find Google Contacts in the middle of the bottom row of your Google Apps tab.
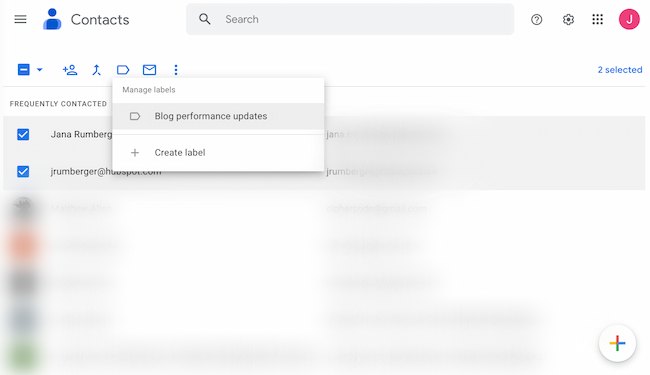
2. Under “Labels”, click “Create Label”.
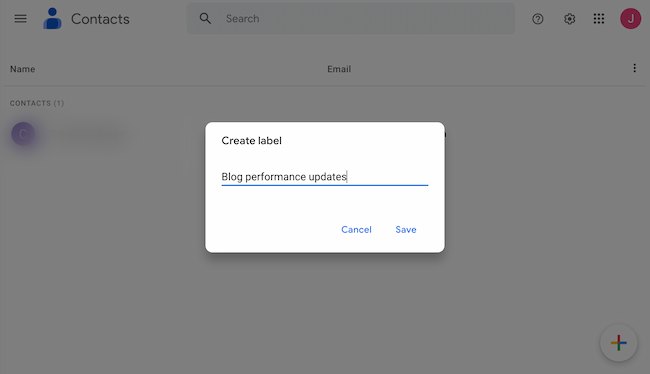
3. Name your label.
4. Click “Contacts”, “Frequently contacted”, or “Directory.”
It’s likely you won’t have contacts saved in Google Contacts, but you can still access the email addresses of people you interact with regularly by clicking “Frequently contacted” or everyone who currently works at your company by clicking “Directory” on the left sidebar.
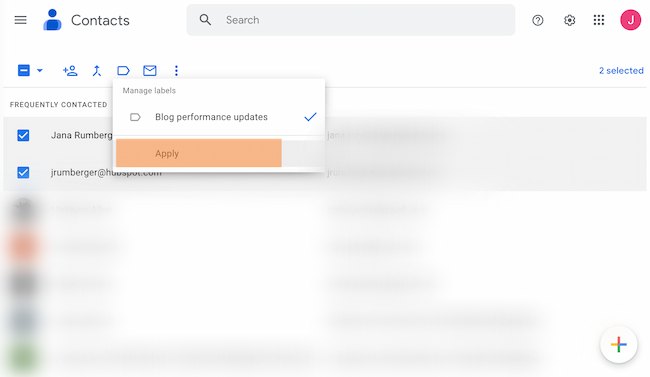
5. Select the contacts you want to include, then click the label icon at the top to add them to your new group.
6. Click “Apply.”
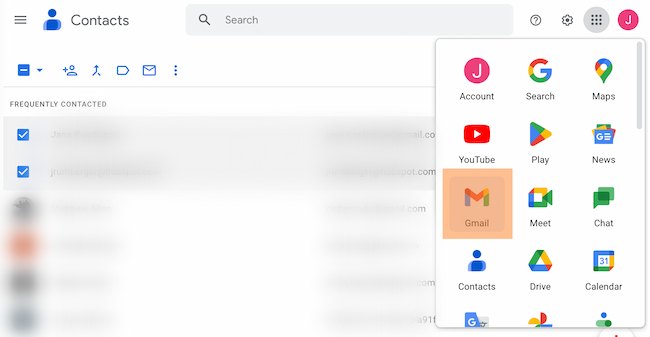
7. Head to your Gmail account.
8. Type your group’s name in the recipient’s box to send an email to your group.
Quick tip: Trying to send a marketing email? Take a look at HubSpot’s free email marketing software.
1. Open Gmail.
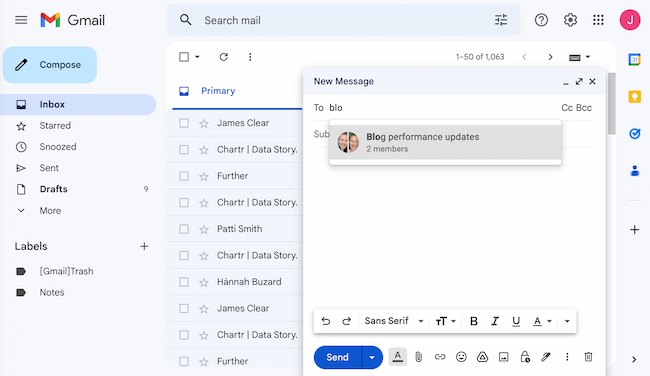
2. Click “Compose” in the top left-hand corner of your Gmail window to create a new email.
<img src="https://blog.hubspot.com/hs-fs/hubfs/create-group-email-in-gmail-2.jpg?width=650&height=373&name=create-group-email-in-gmail-2.jpg" alt="How to create a group email in Gmail example: Click compose" width="650" height="373" style="height: auto;max-width: 100%;width: 650px;margin-left: …read more
Source:: HubSpot Blog